On this page
Tip Gauge Assembly Instructions
1. 3D Printed Part
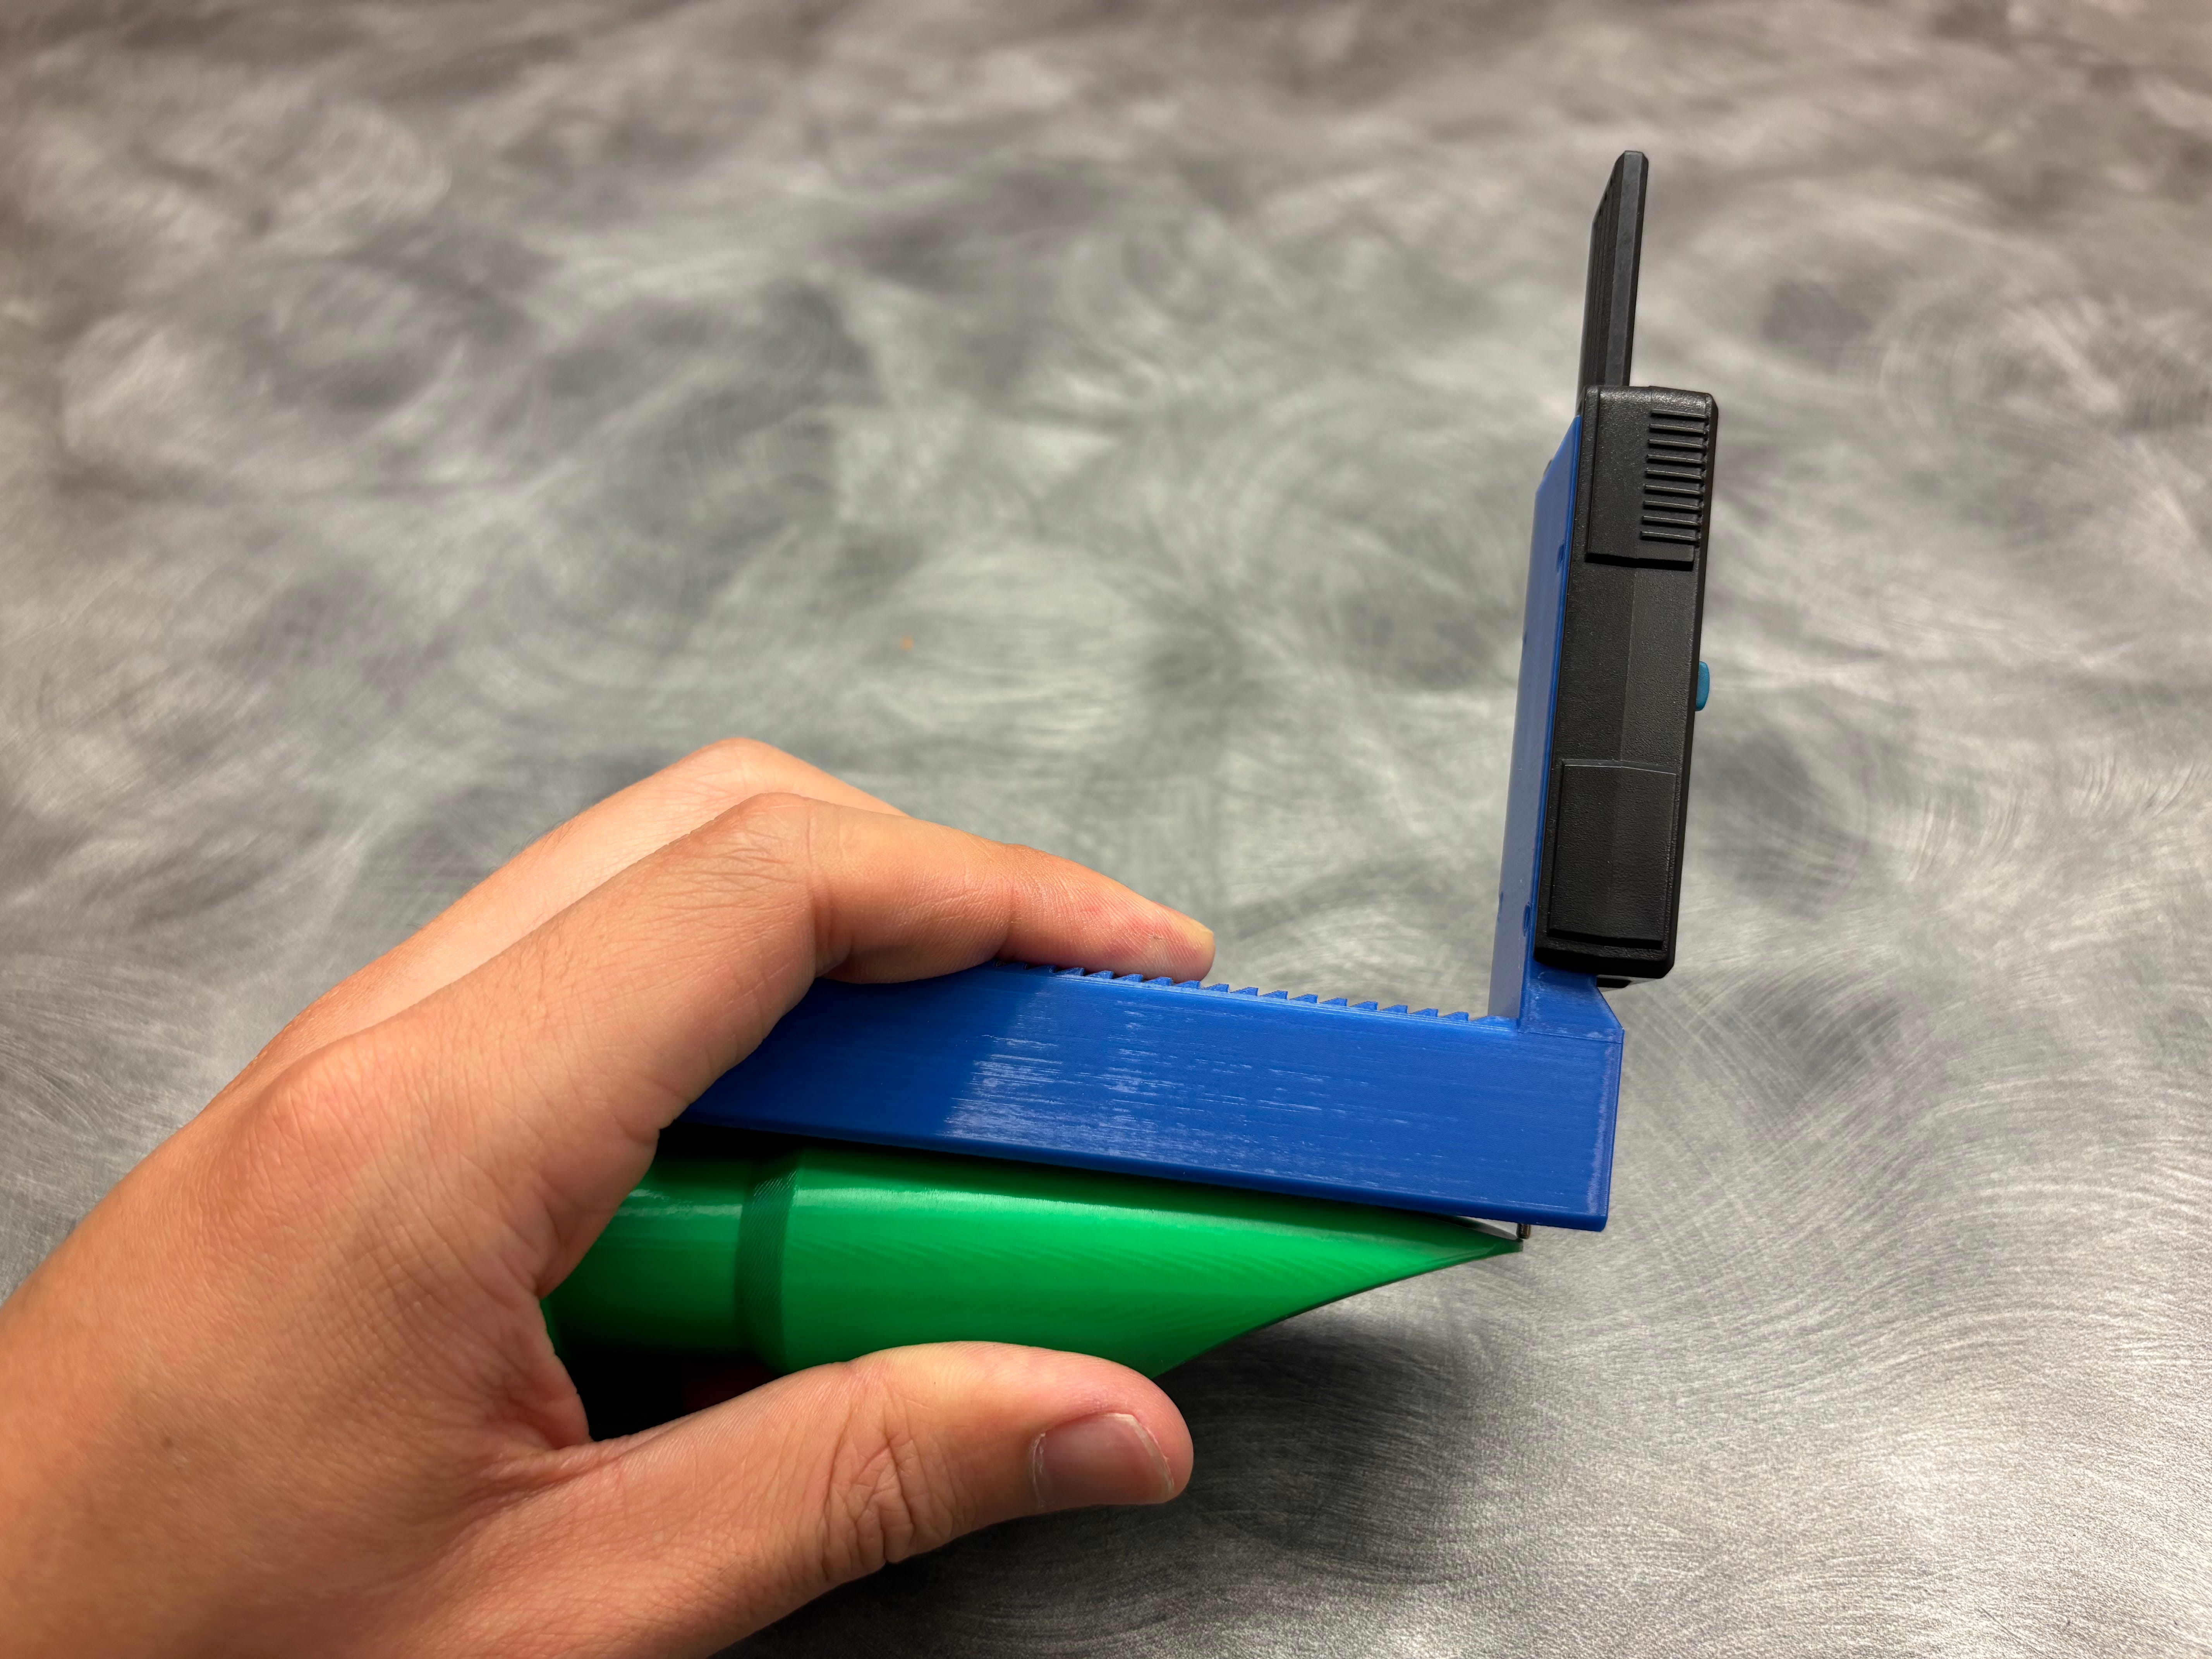
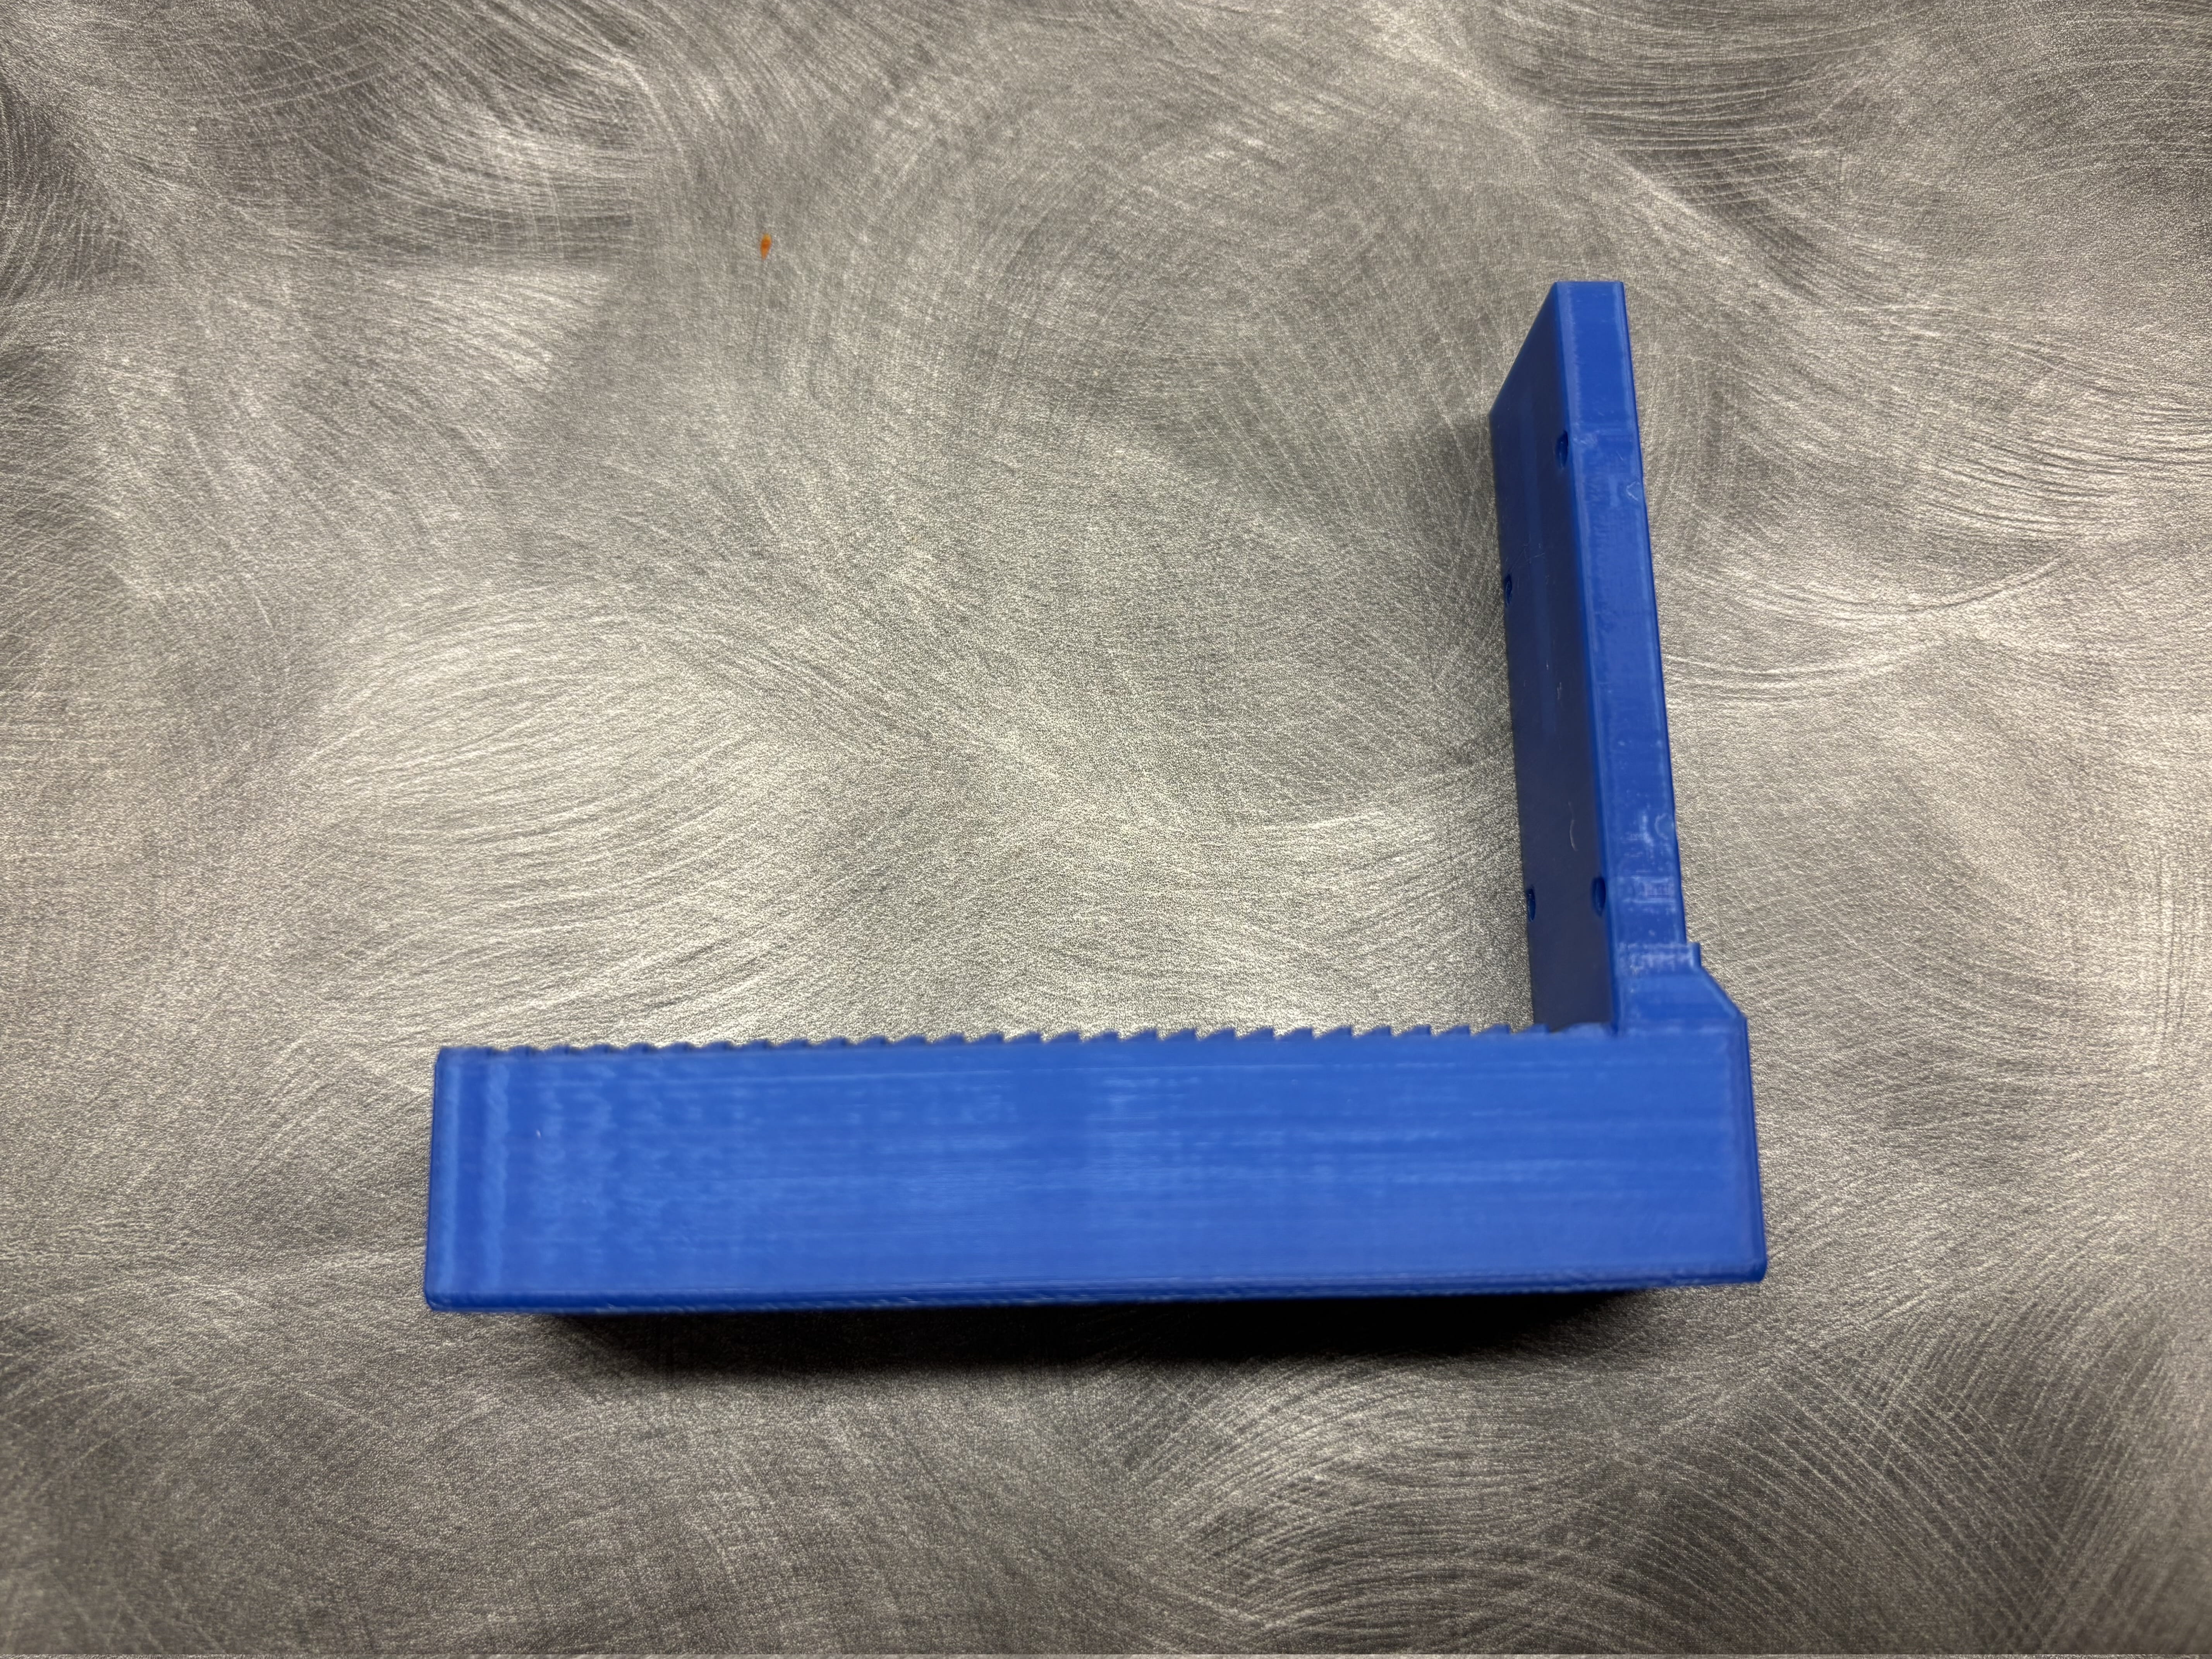
Print the custom tire gauge housing available at Printables. Follow the recommended print settings provided on the page.
IMPORTANT: The printed part absolutely must not warp. Adjust your print settings until the bottom surface comes out perfectly flat. Use brims, glue, higher bed temperature, high adhesion build plates, etc.
After printing, sand the bottom edge against a flat surface, such as a glass panel. If the bottom surface is flat, you will see uniform sanding marks across the entire bottom surface.
2. Tire Tread Gauge
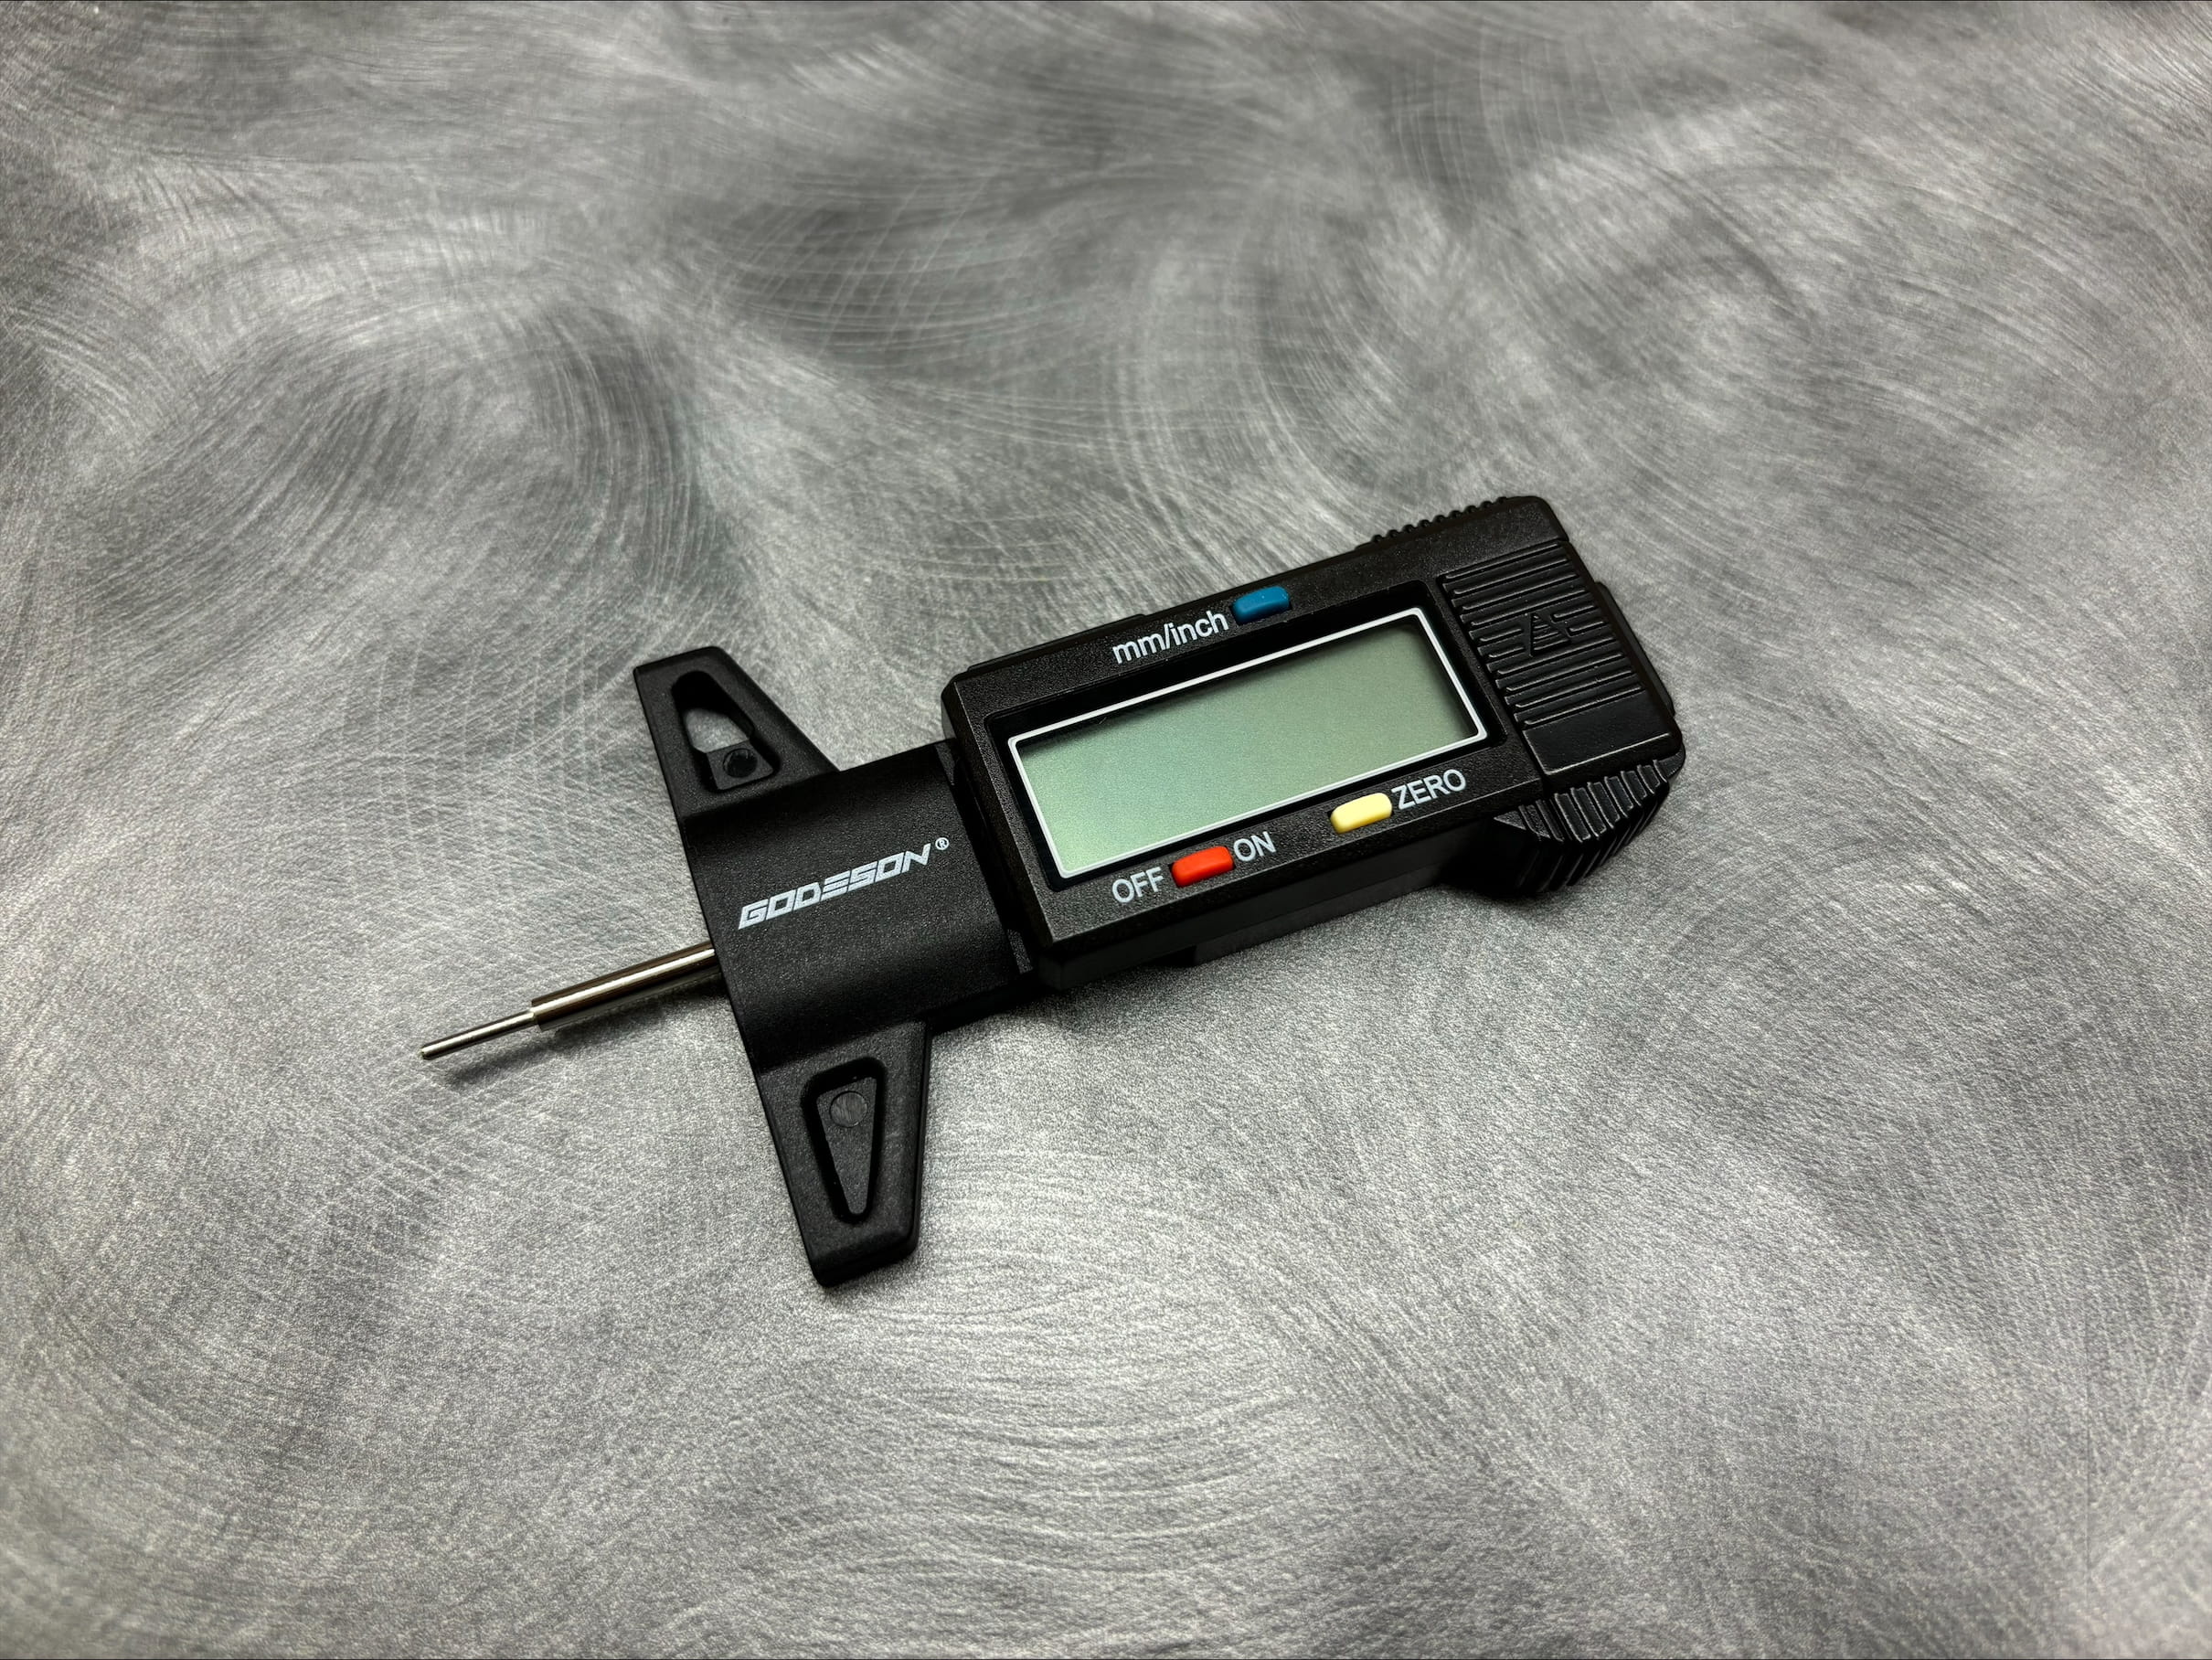
Obtain a digital tire tread gauge. This guide uses this specific model from Amazon.
If you don't have a small Phillips screwdriver, the Amazon listing mentioned above includes one in the package.
3. Remove the Back Sticker and Screws
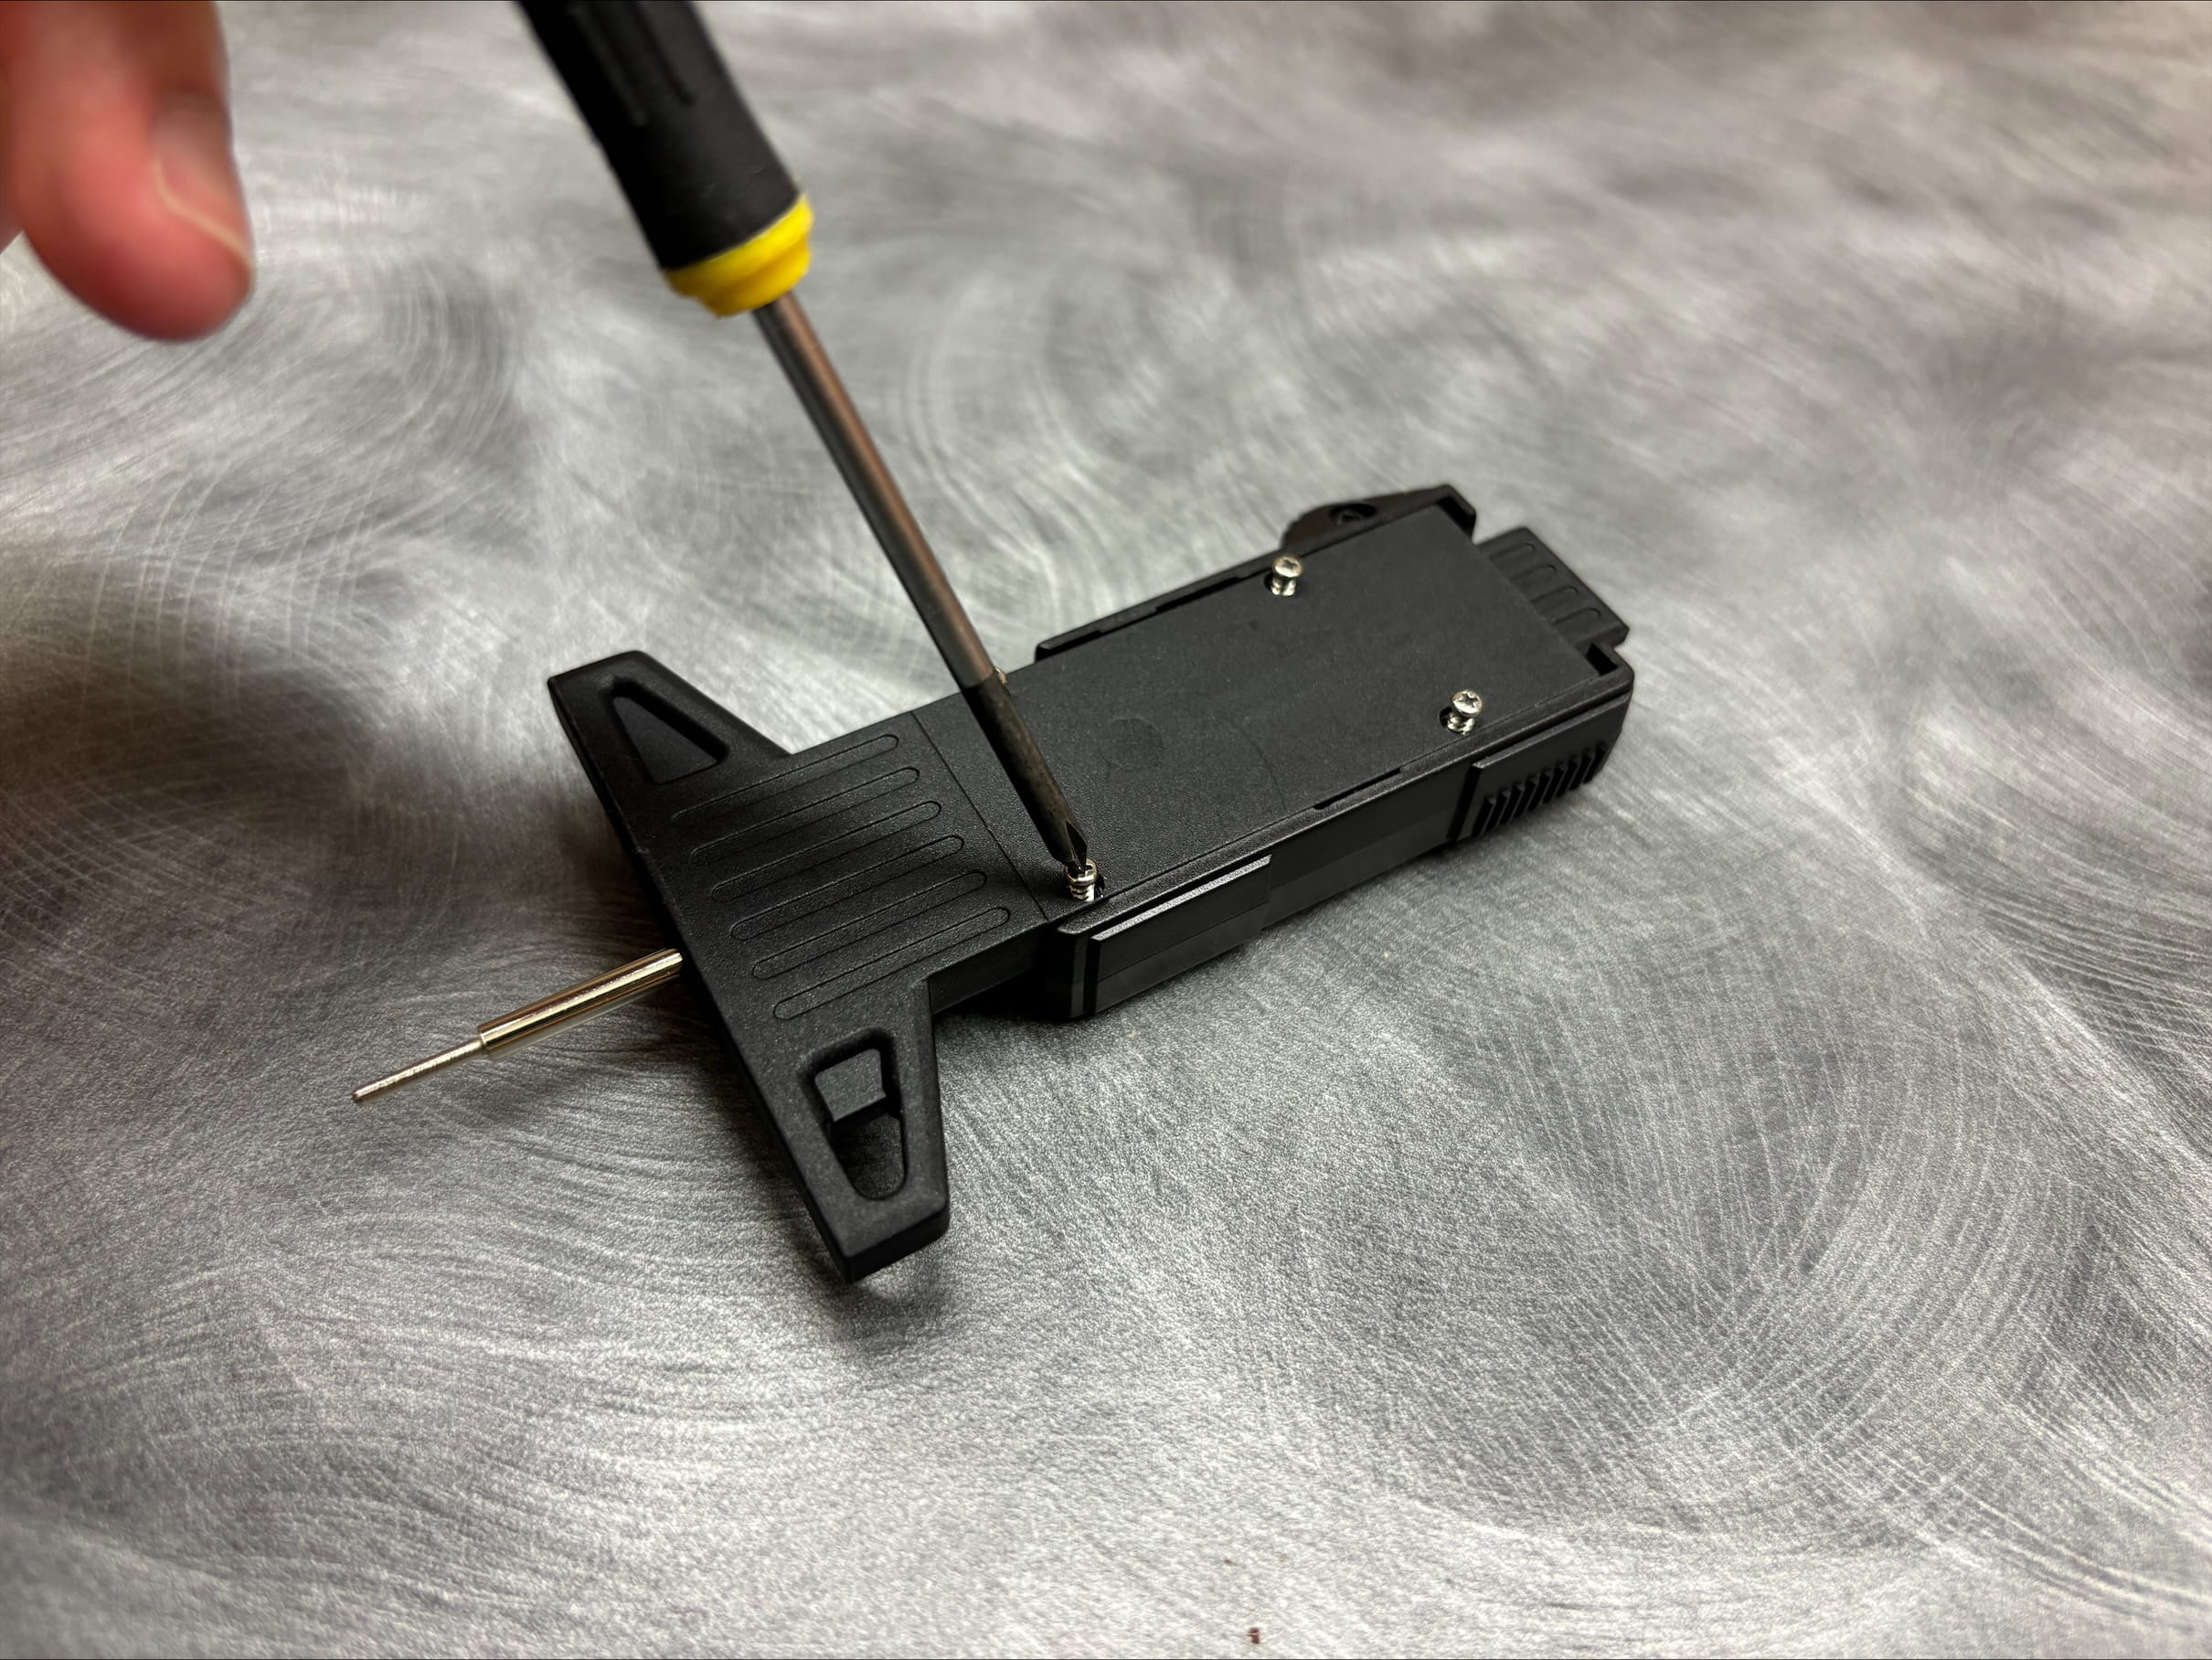
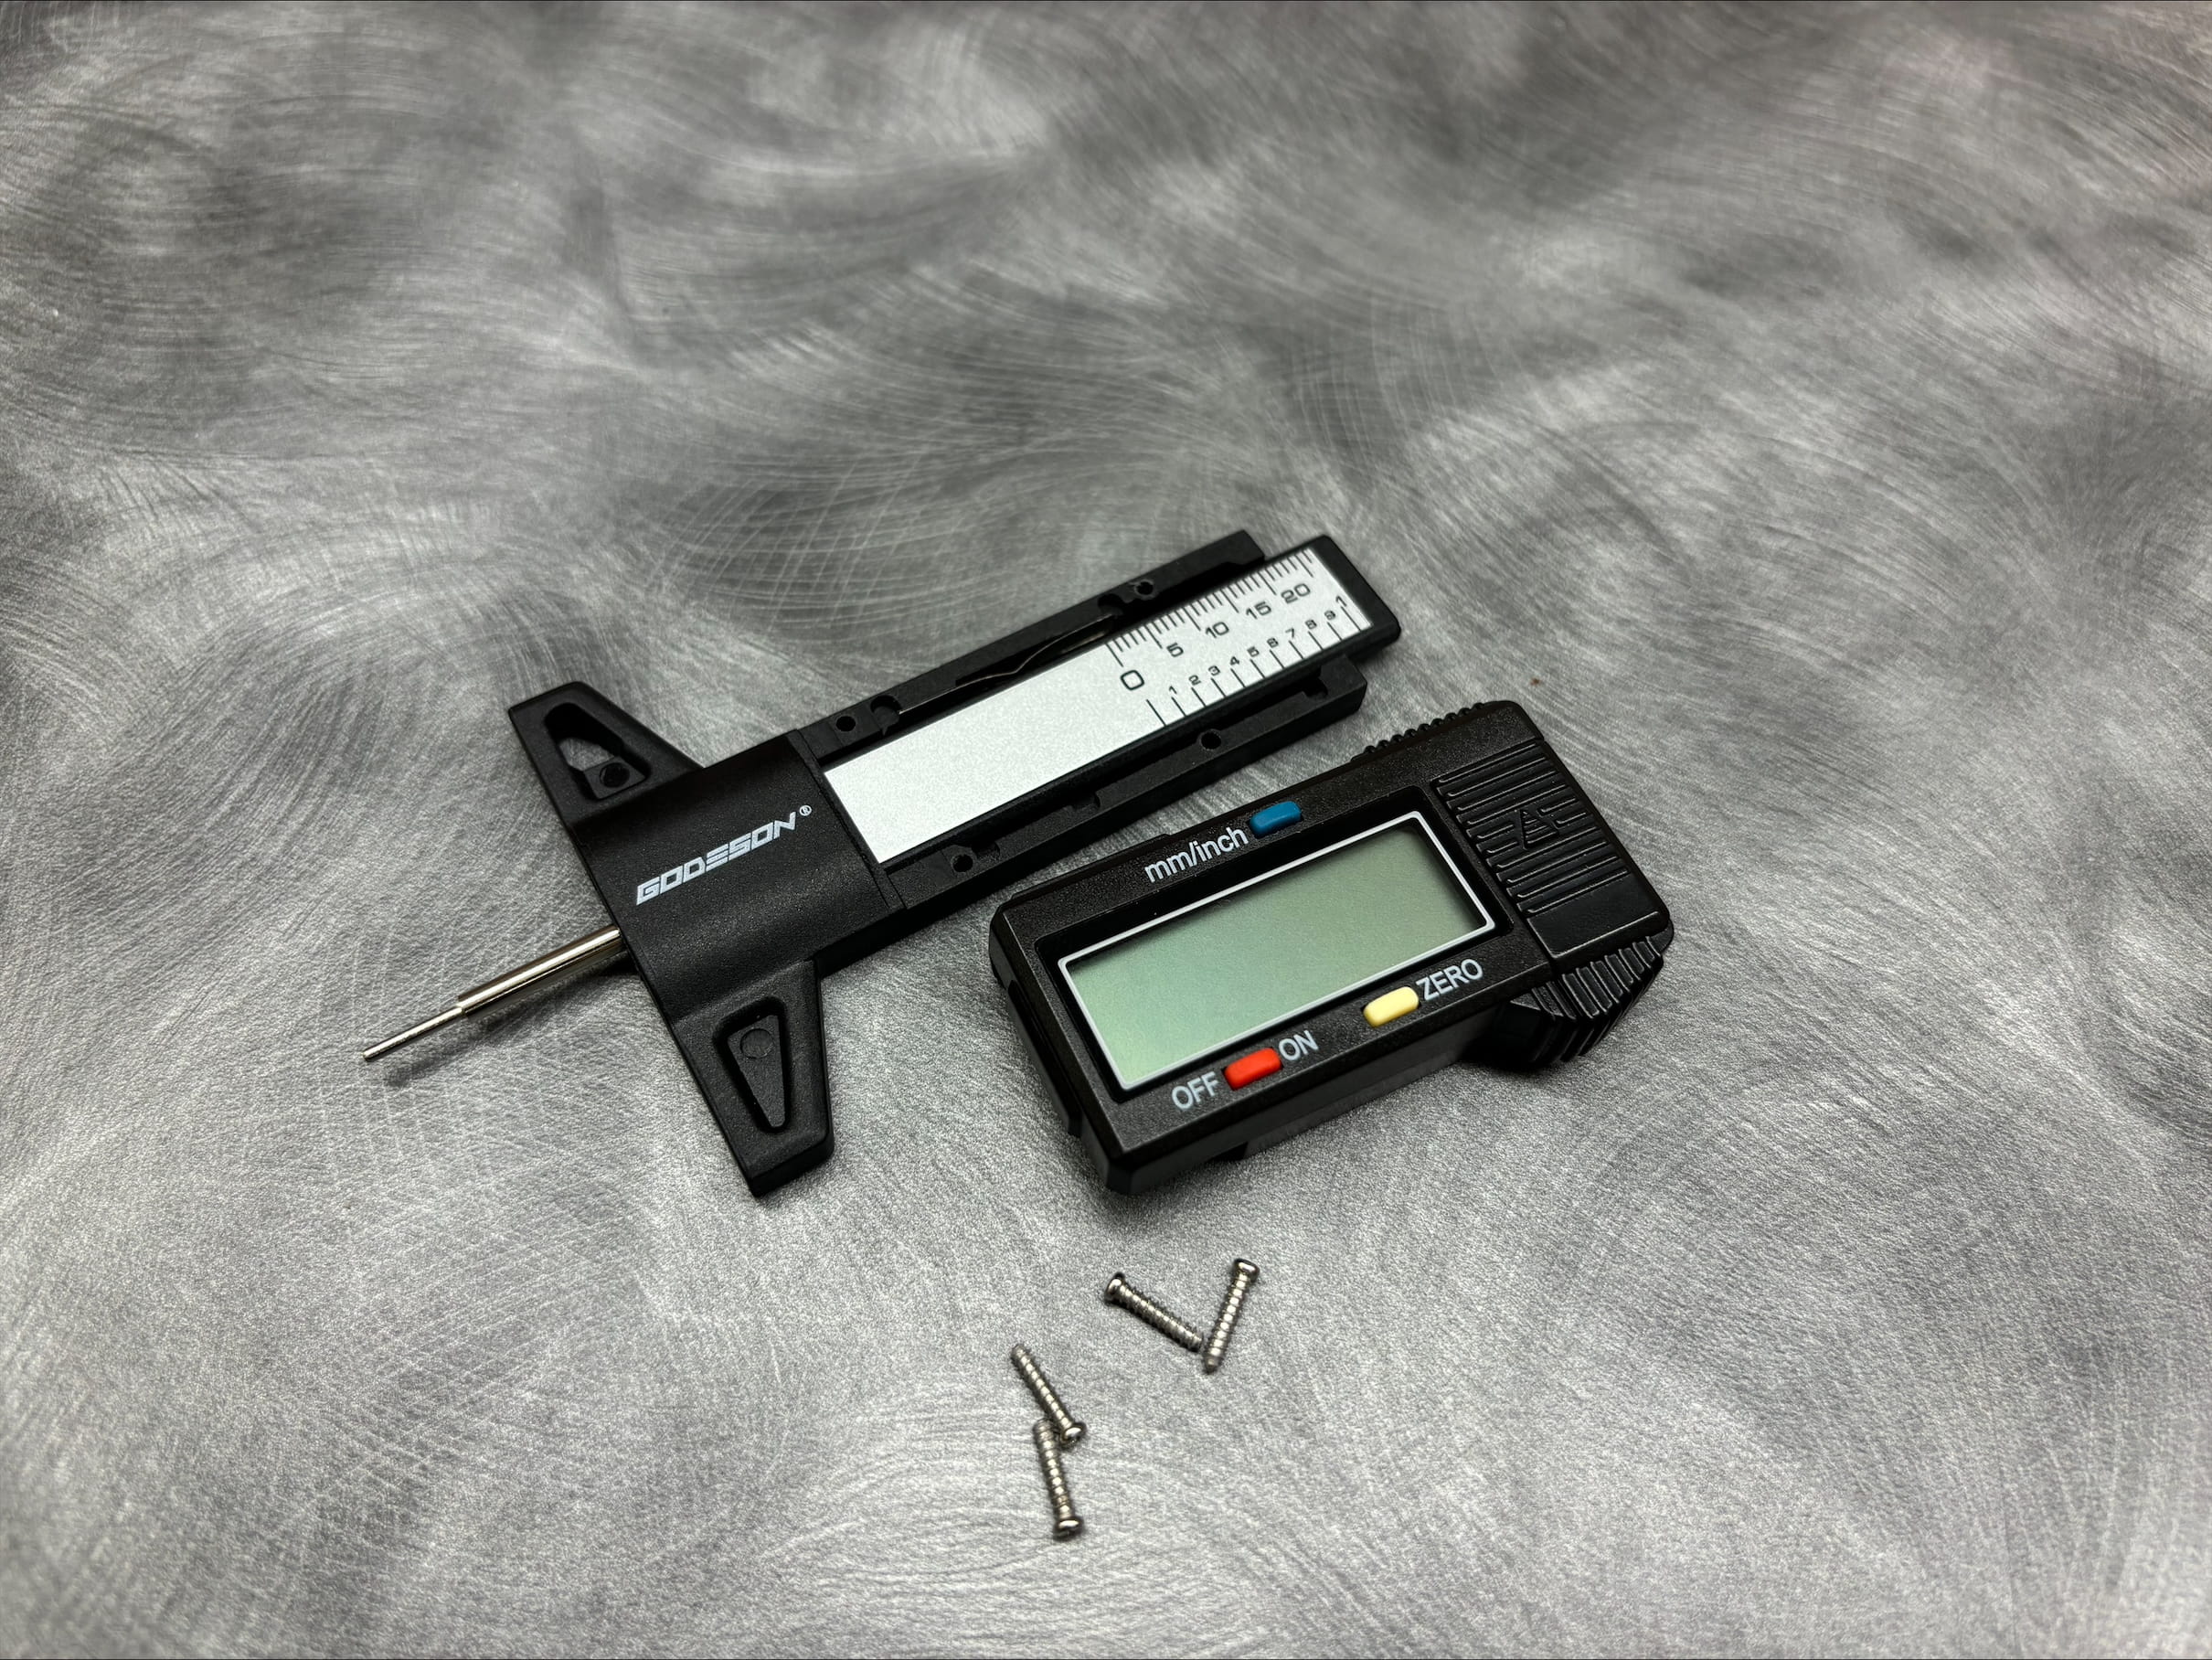
Peel off the back sticker and remove the four screws. Keep the screws. They will be reused during reassembly.
4. Expose the Internal Parts
Flip the gauge over and open it to expose the internal components. Note where each part is located. The custom 3D printed gauge has the same internal layout, and you will need to transfer these parts into the new housing in their corresponding locations.
5. Remove the Internal Mechanism
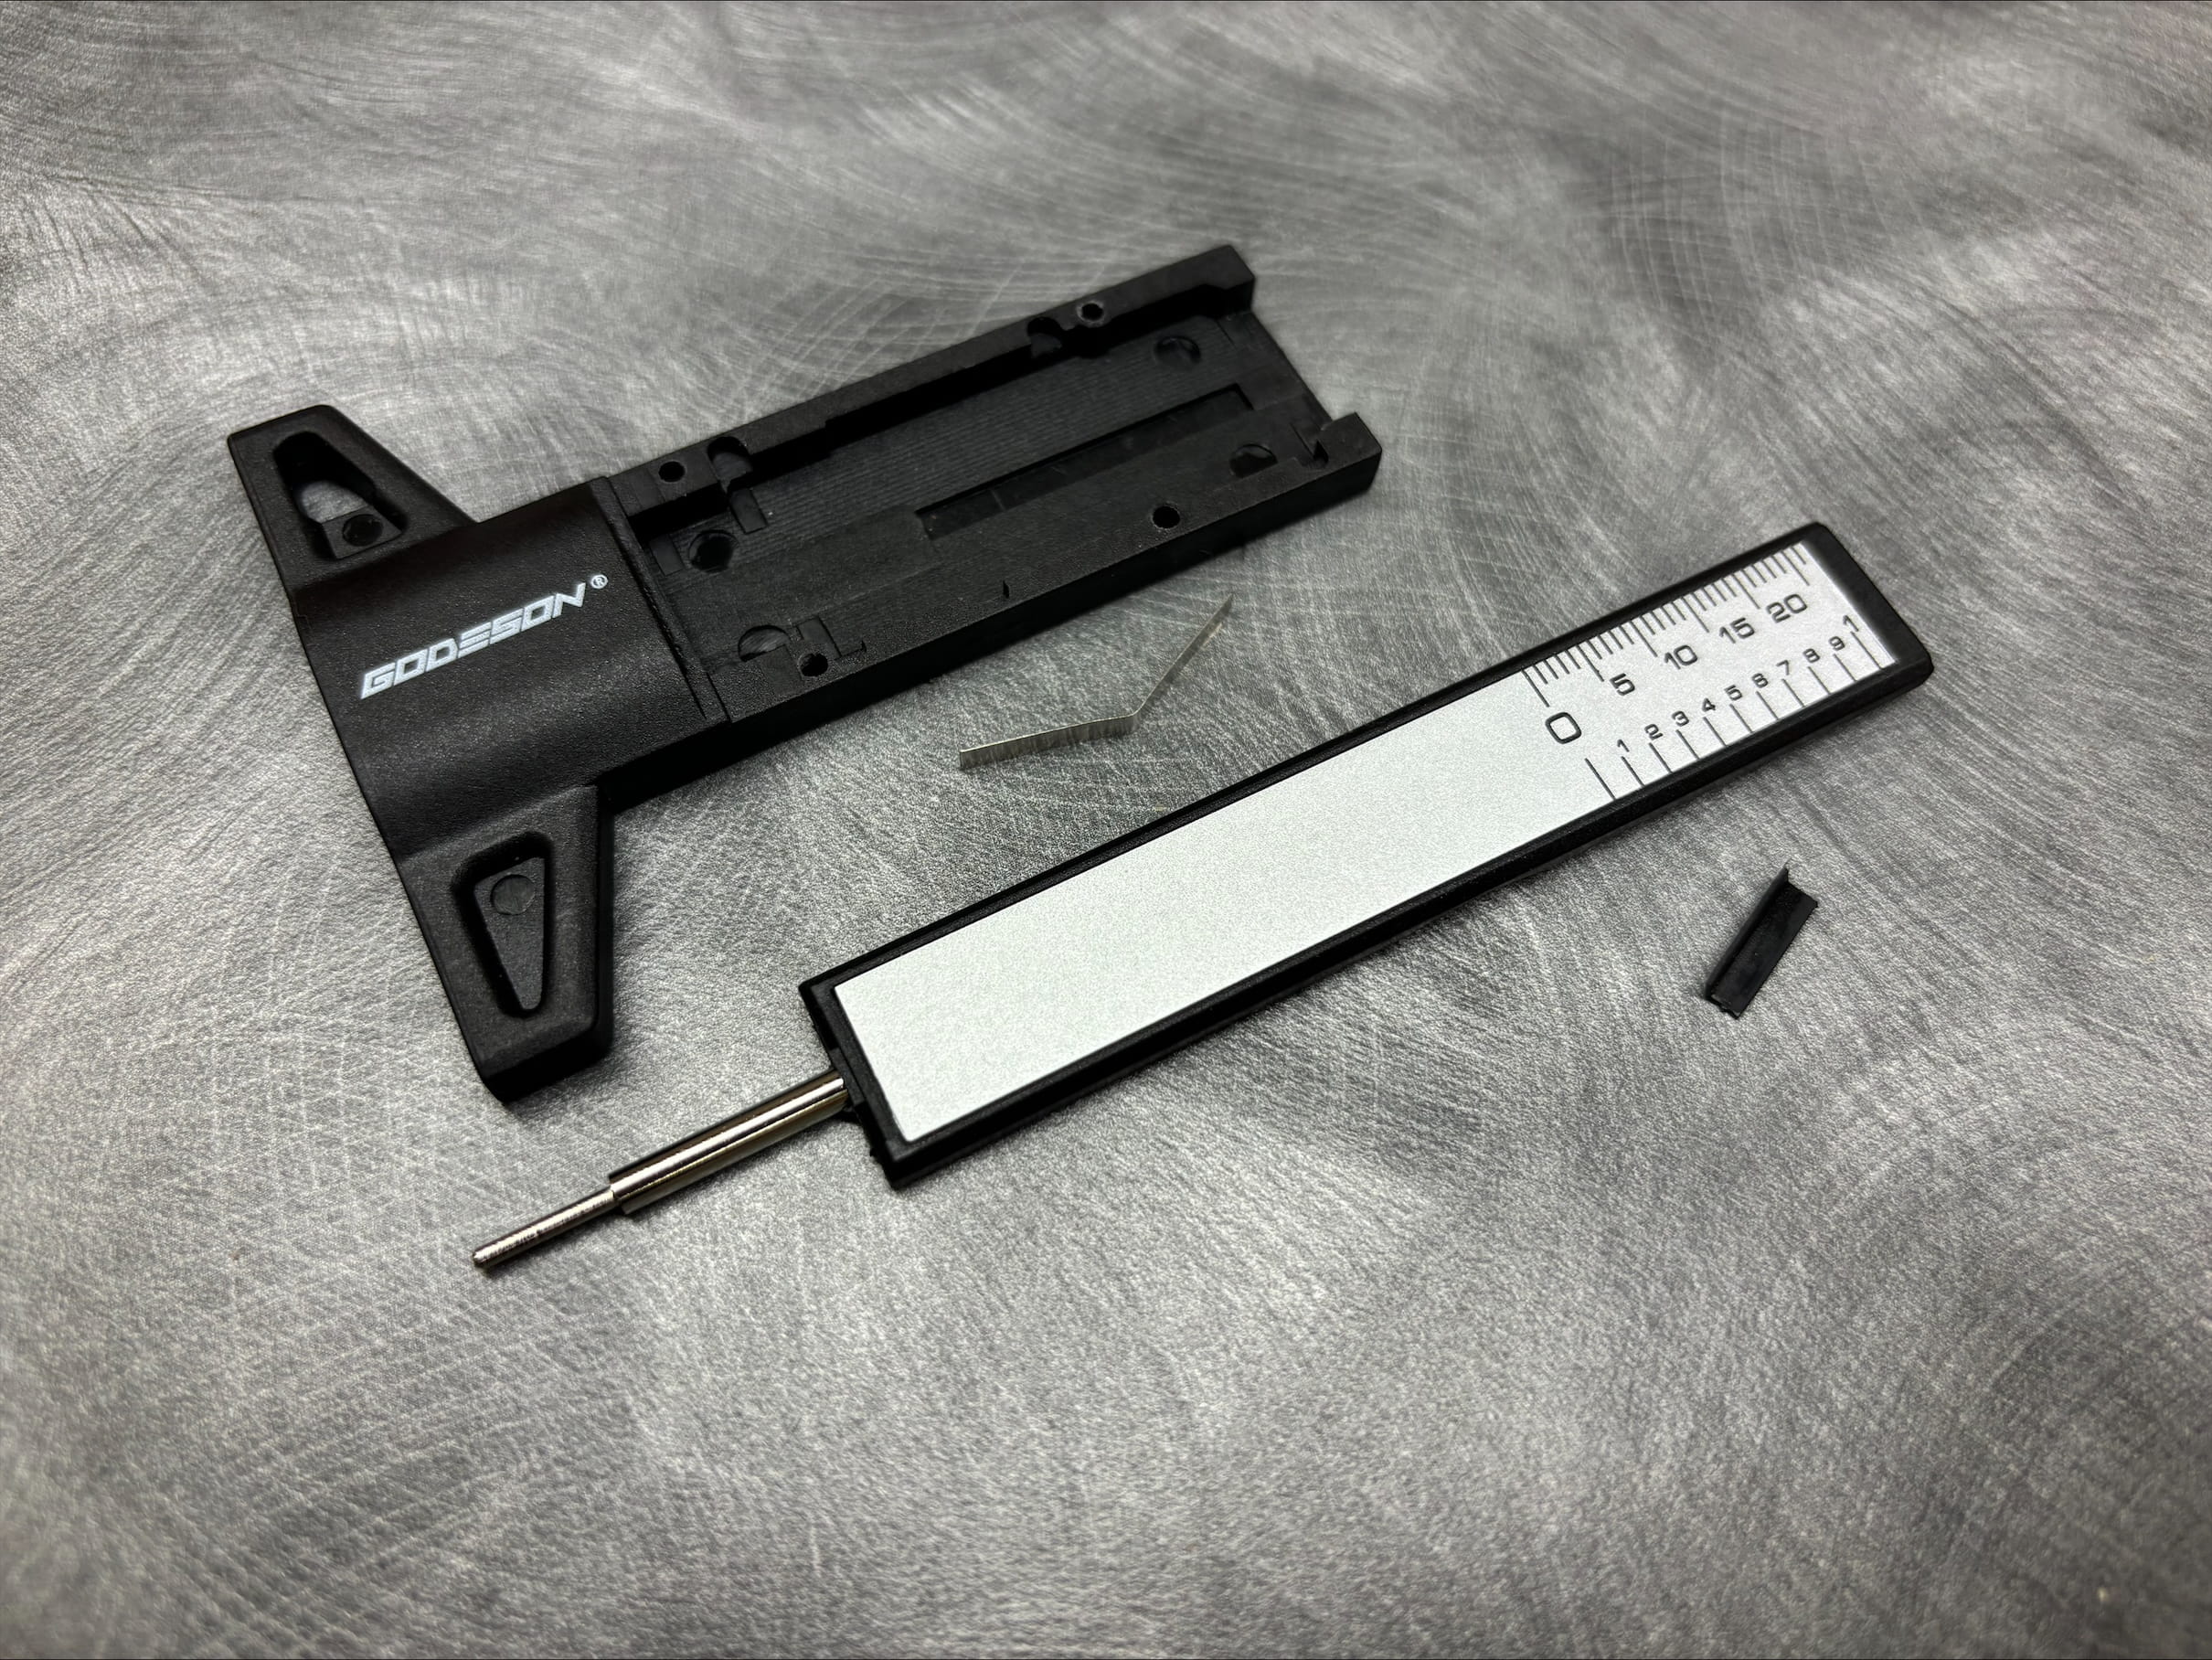
Remove the probe and spring mechanism from the original housing
6. Install the Probe and Spring
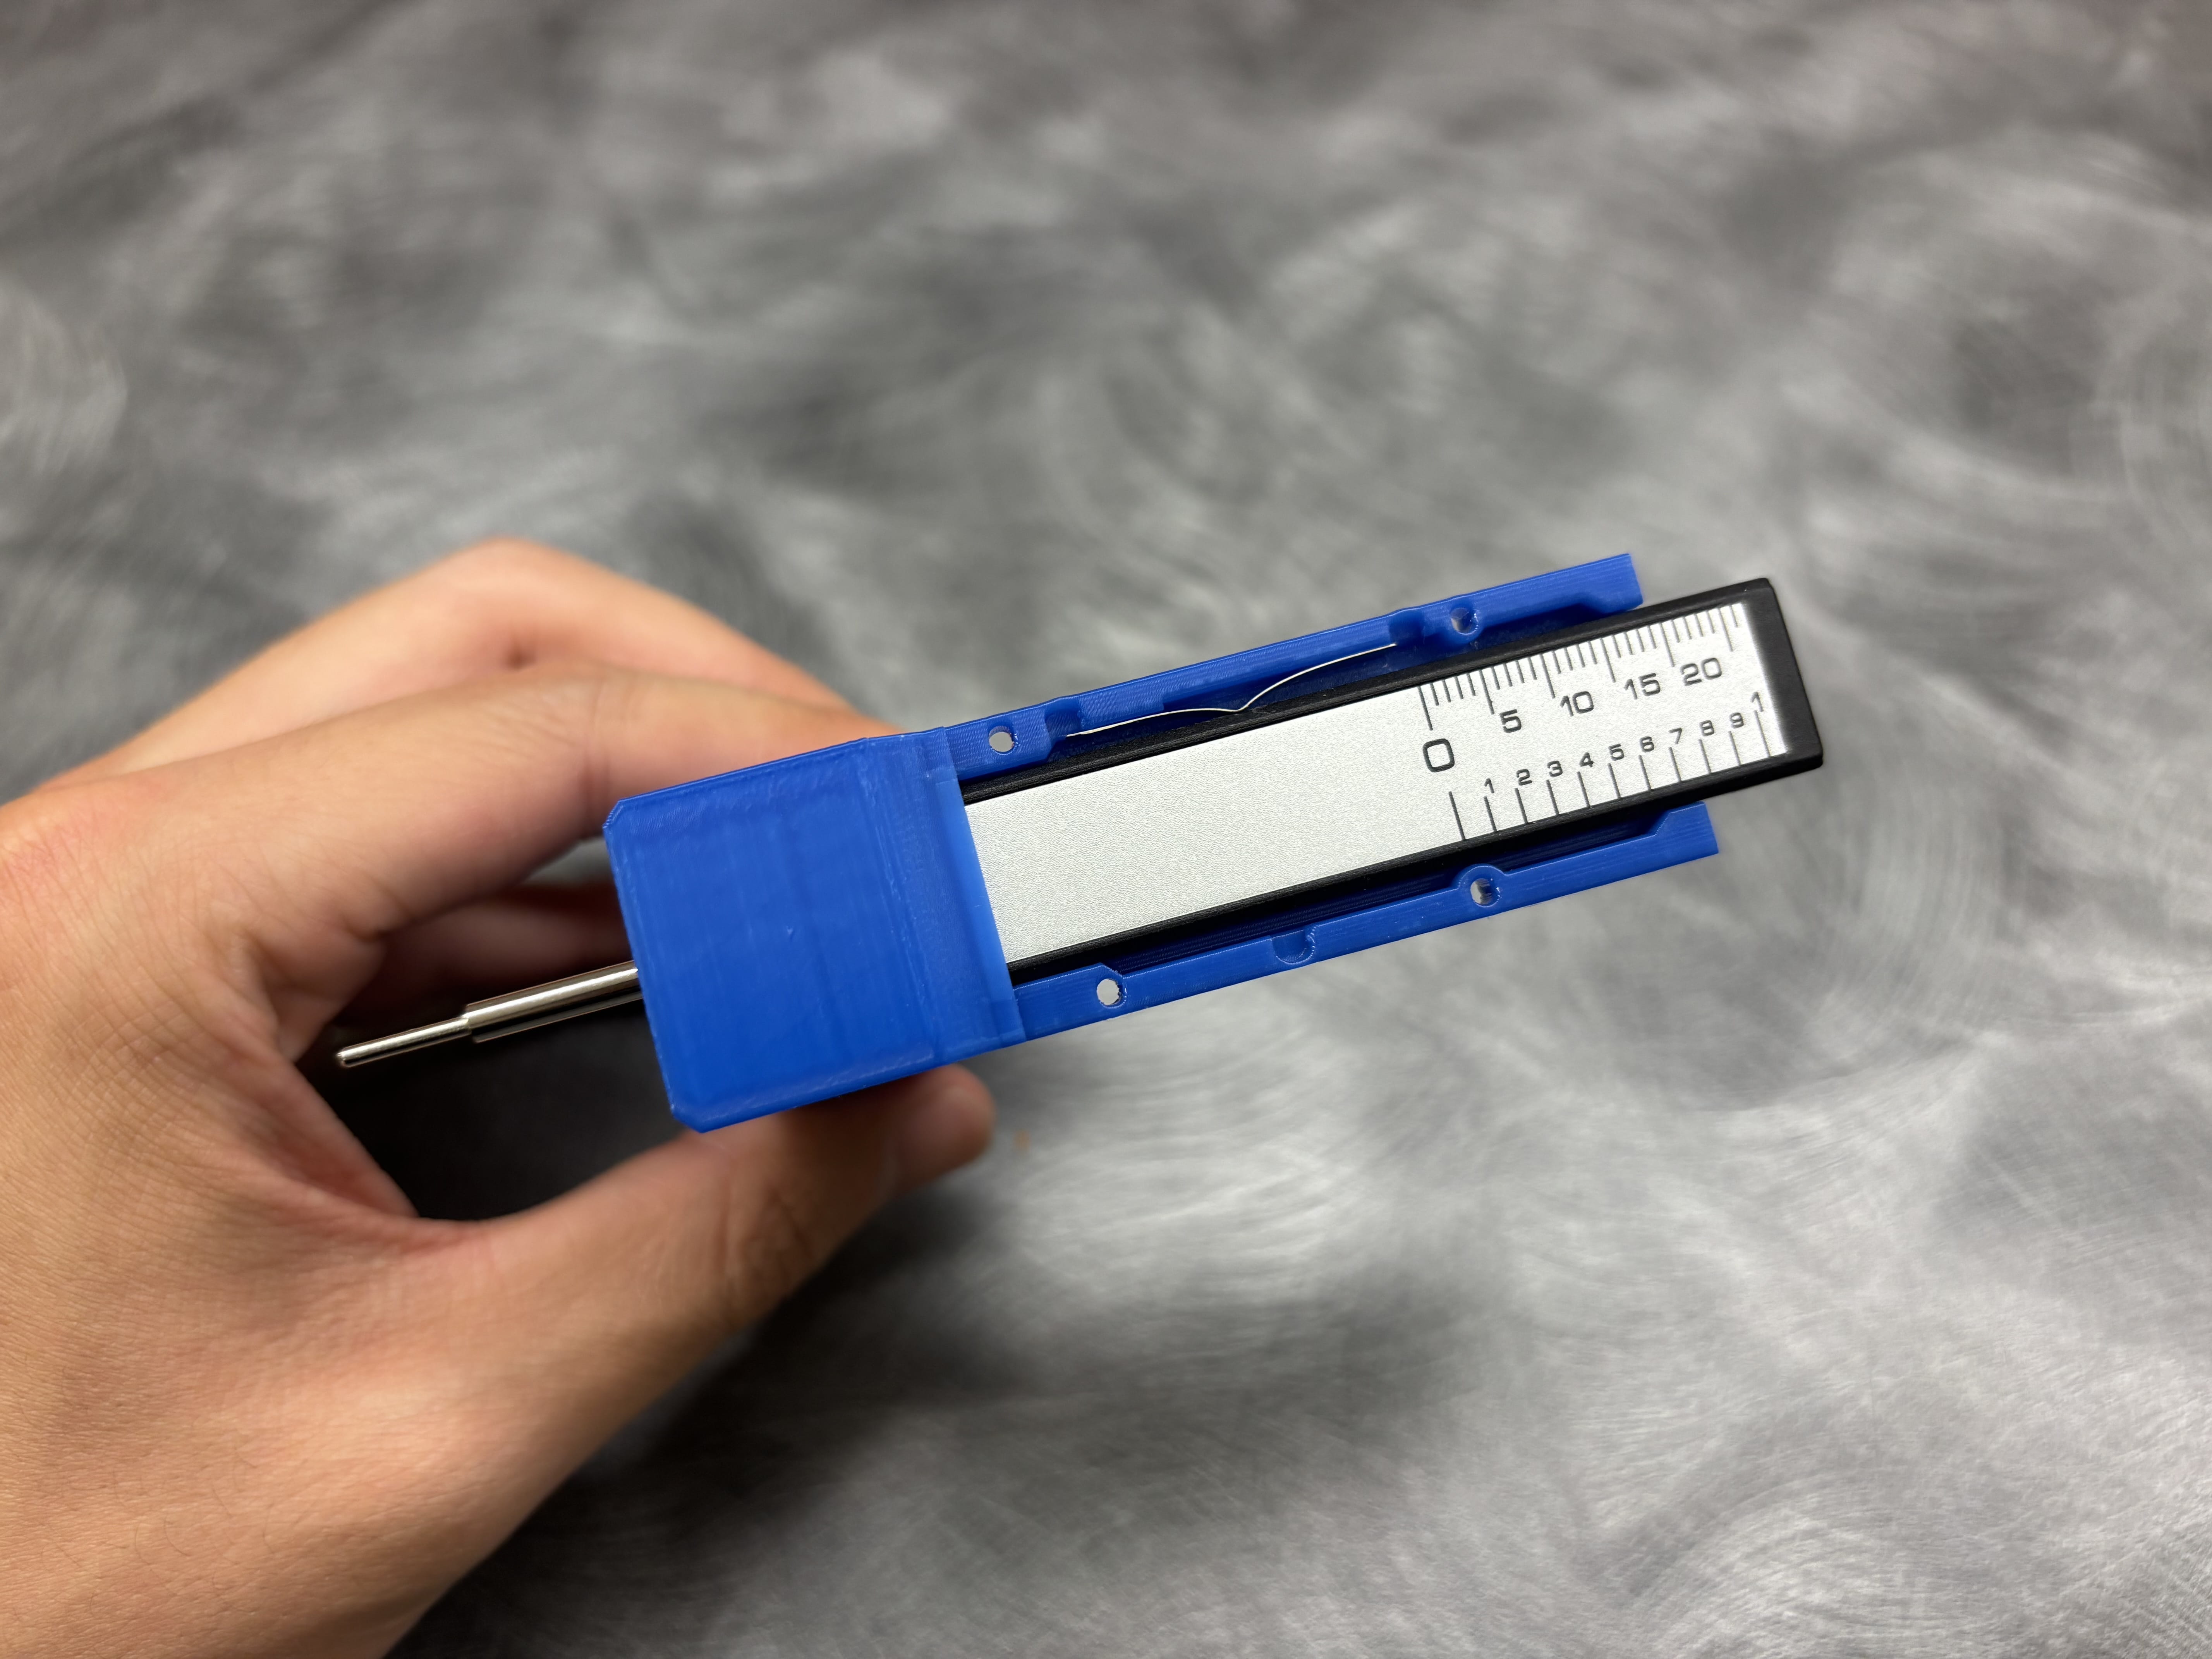
Transfer the probe and spring into the new 3D printed housing. It is generally easier to insert the probe first, then compress the spring and slide it into the top slot.
7. Reassemble the Housing
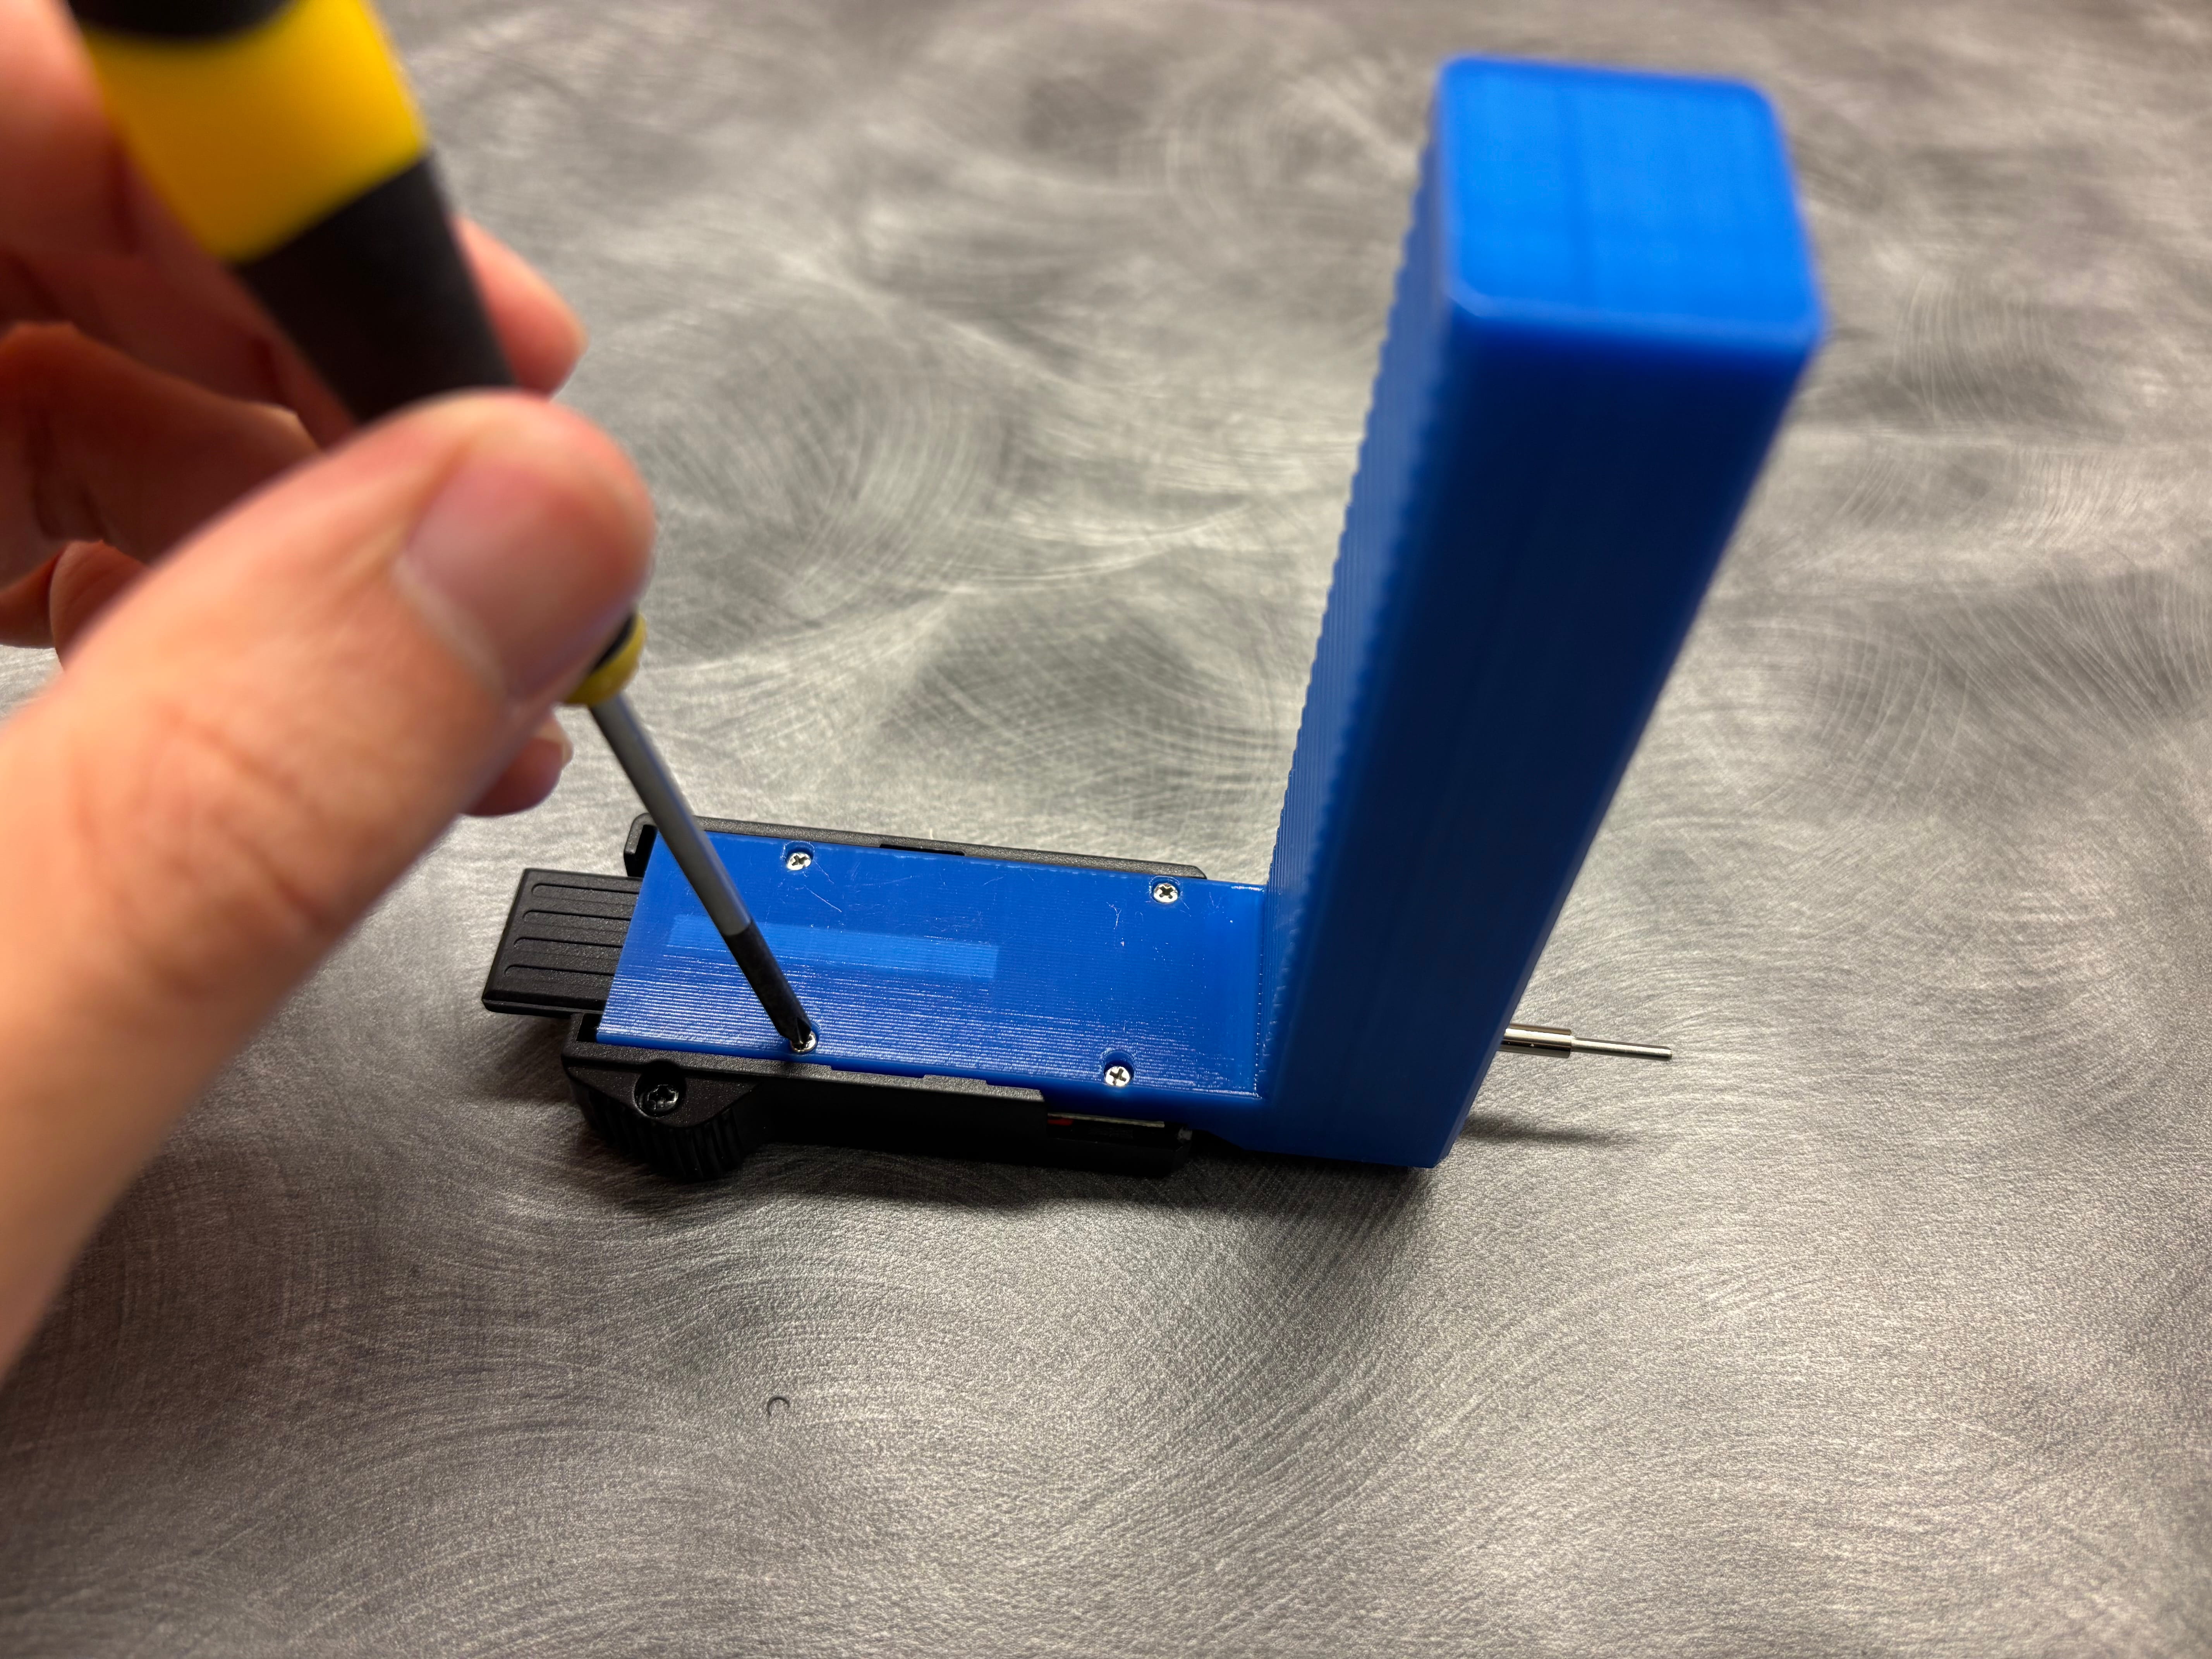
Place the original front cover onto the new 3D printed housing. The front cover should align itself with the holes in the printed housing. Once aligned, reinstall and tighten the four screws you saved earlier.
8. Final Adjustments
Ensure all screws are securely tightened. Loosen slightly if the probe doesn't move smoothly, or tighten slightly if the probe wobbles.
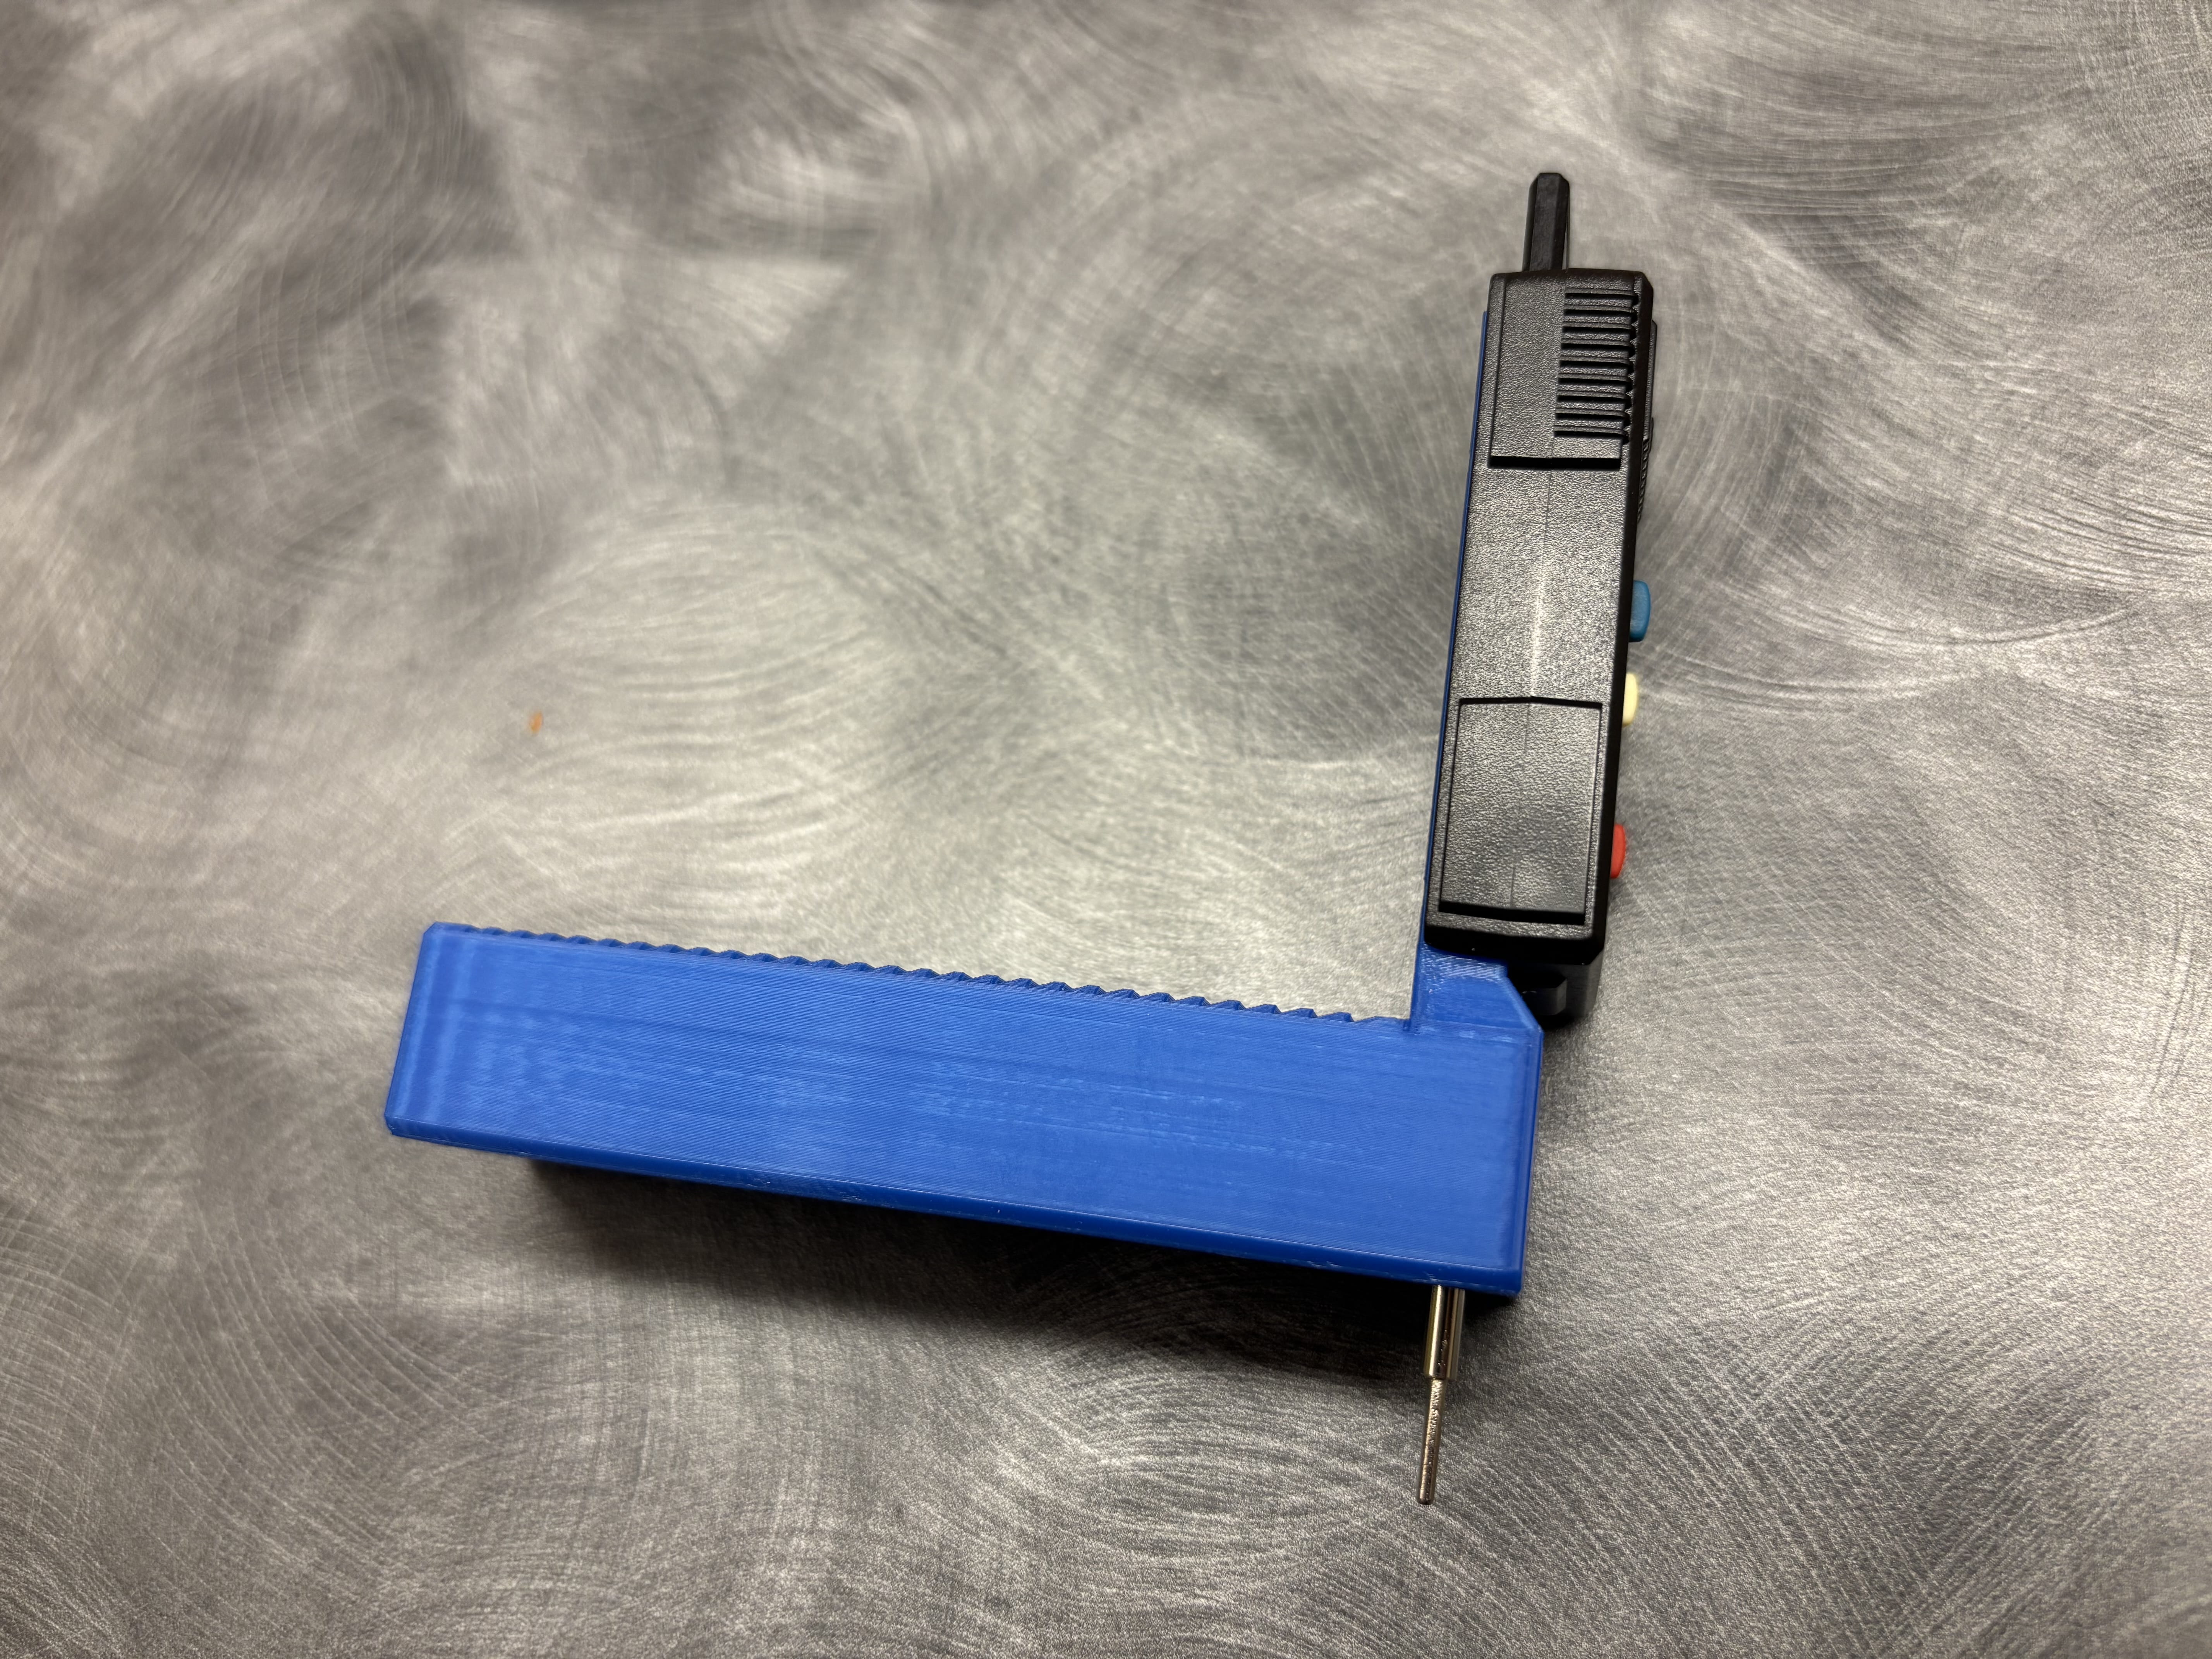
9. Completed Gauge